Update 23/11/2015 - I’ve got many requests about the WiFi bulbs. You can find them on dx.com. Enjoy!
Recently I started playing Minecraft, again. I find vanilla Minecraft somewhat boring, so I always look out for modpacks. After searching for new modpacks, I stumpled upon FTB Horizons: Daybreaker. Looking at the included mods list, OpenComputers caught my eye.
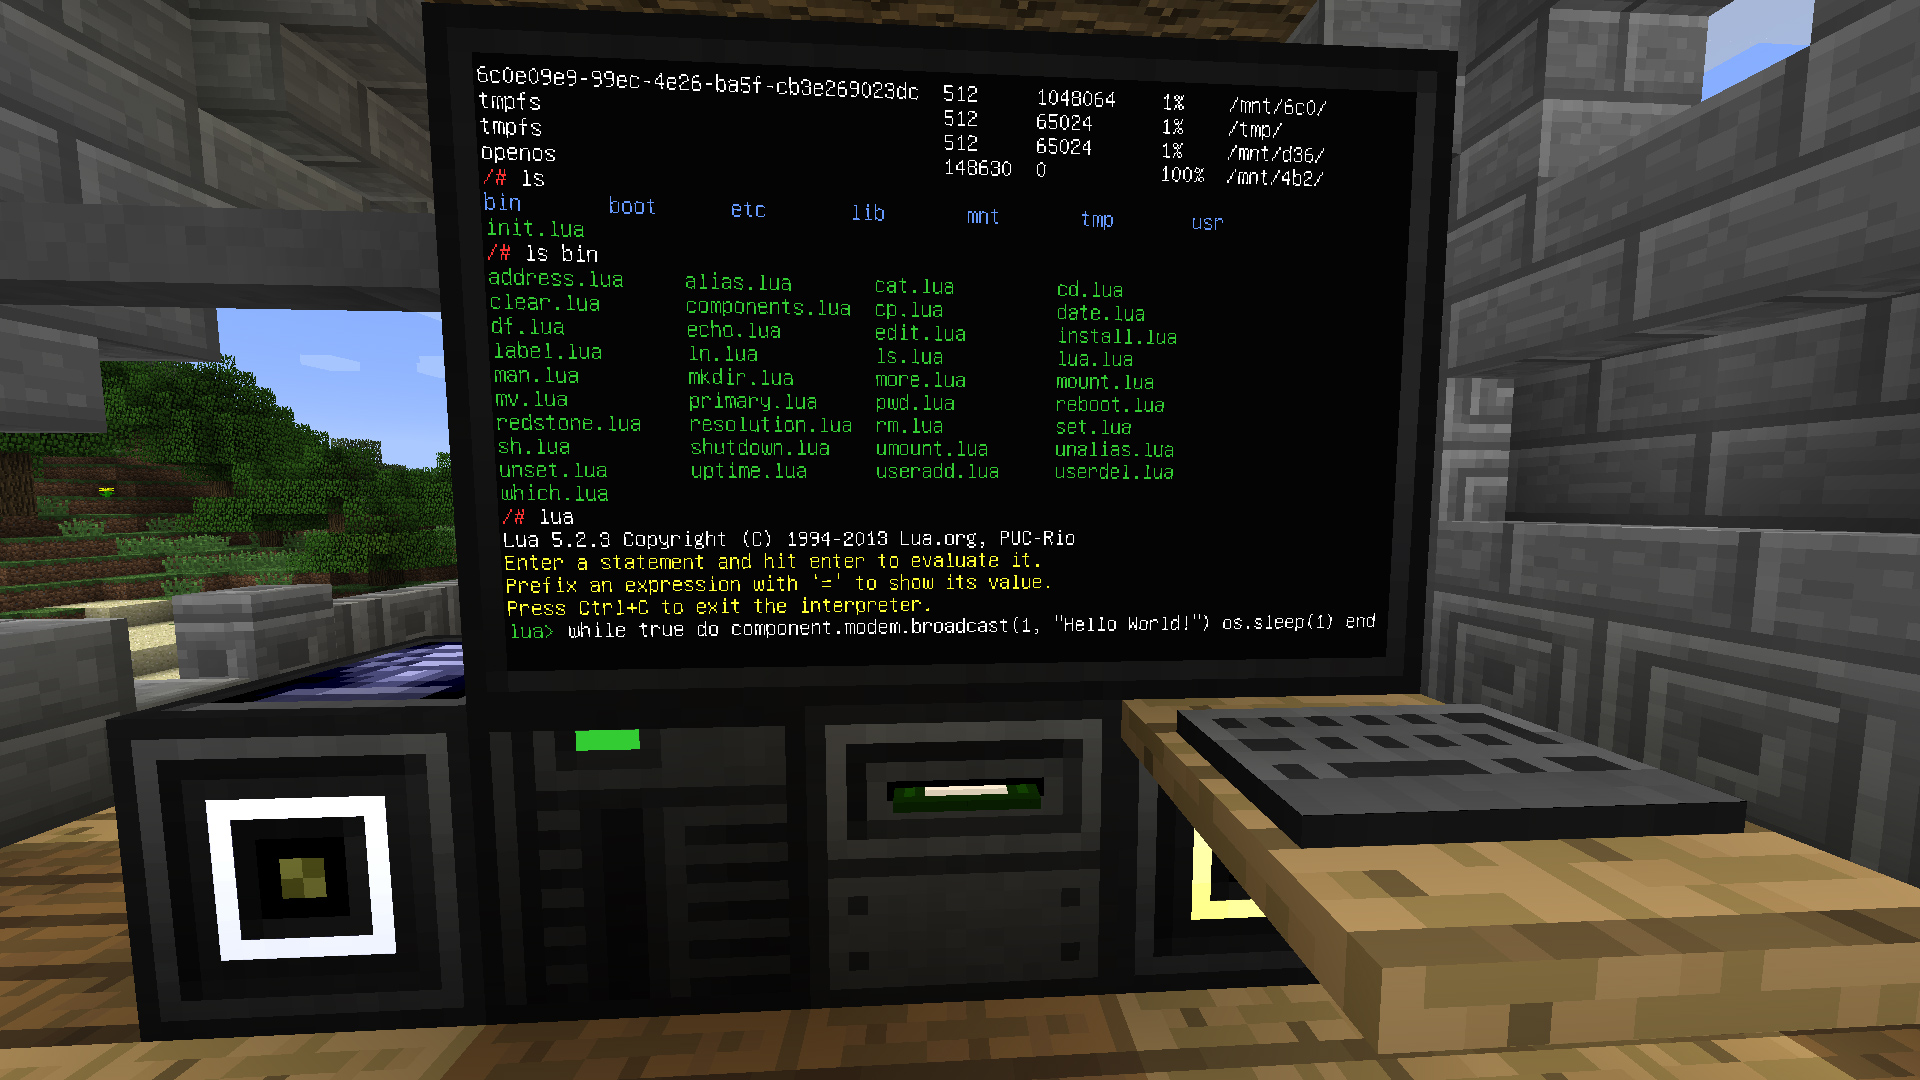
As the name suggests, OpenComputers adds computers to Minecraft. Real computers! They are highly modular too. You can add peripherals, from monitors to keyboards and expansion cards that add capabilities such as graphics and network. They can also be programmed in Lua, in-game. Another type of card also exists, the Internet card which, as you can imagine, can communicate with the real-life Internet. Awesome.
So what can we do in ~1 hour of spare time? I have a couple of WiFi-enabled bulbs near me, wouldn’t it be nice to be able to control them using Minecraft? My WiFi bulbs are some unknown, eBay sourced devices that use a crappy mobile app for control. My friend Thomas had reverse-engineered the protocol and I am able to control their color and state though TCP on port 5577. I have everything that I need, so what now?
Getting our hands dirty
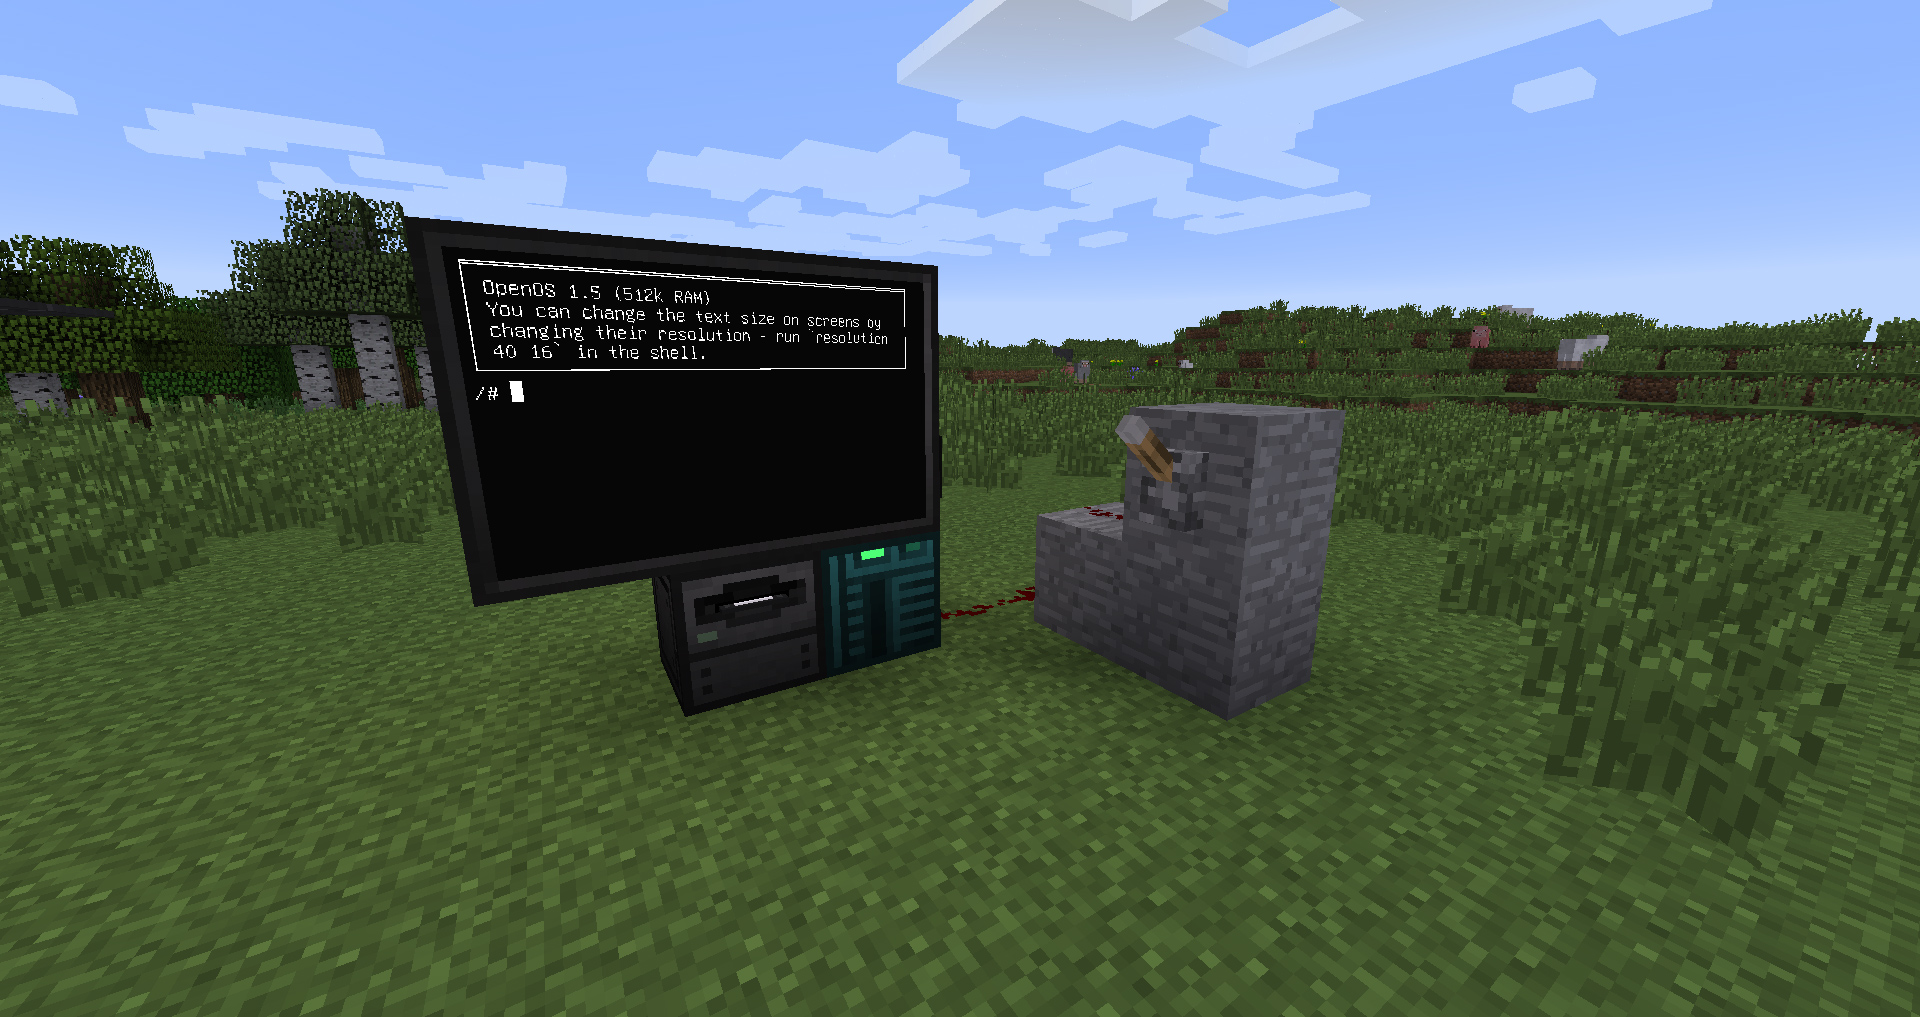
First of all, I fired up Minecraft. Next, I created a new Minecraft world and entered the game. I set myself to creative mode, meaning that I could spawn into the game whatever I want and then built an OpenComputers computer. There are many tutorials out there, but it took me some time to figure out how they work. After some troubleshooting I had a computer up and running and I could open TCP connections to the real world!
The protocol used by the bulbs is quite simple, one header byte, three additional bytes to define the RGB color, a byte to define the white brightness (the bulb is RGBW), one byte to set the mode between RGB and white and a footer byte. Simple enough!
0x56 RED GREEN BLUE WHITE MODE 0xAA
Vanilla Minecraft has redstone, the equivalent of electricity in our world. By default, many different blocks are supported such as levers, pistons, comparators, etc. People have created really complicated contraptions using redstone, such as a real CPU. OpenComputer works with redstone, so we can easily read the binary state of a Minecraft lever, either ON or OFF and toggle the WHITE byte to turn on or off the WiFi bulb. This is the computer I build in-game. It has 6 monitors that get combined to a big one, a disk drive and a redstone lever connected to the right side with redstone dust.
Bringing it all together
So, we have the computer, a way to control the computer and input signals. We also have a way and protocol to talk to the bulb. The last part of the puzzle is the program that runs on the computer and brings everything to life. First of all, I spawned a disk in Minecraft. By putting it inside a disk drive, OpenComputers creates a folder with a unique ID in the game’s files. This way I can add, edit and delete files from my computer to the computer in Minecraft. I used Sublime as the editor, I find it very tedious having to use the computer in-game to write code. After some researching and troubleshooting, I came up with the following script.
local event = require('event')
local net = require('internet')

local myEventHandlers = {}
local running = true

local con = net.open('192.168.1.110', 5577)

function myEventHandlers.key_up(address, char, code, playerName)

  if (char == 'q') then
    running = false
    print('Goodbye ' .. playerName .. '!')
  end

end

function myEventHandlers.redstone_changed(_, address, side)

  local brightness = 0xff;

  if side > 0 then
    brightness = 0xff
  else
    brightness = 0x00
  end

  print('Sending ' .. brightness .. ' to lamp...')

  con:write(string.char(0x56))
  con:write(string.char(0x00))
  con:write(string.char(0x00))
  con:write(string.char(0x00))
  con:write(string.char(brightness))
  con:write(string.char(0x0f))
  con:write(string.char(0xaa))

  con:flush()

end

function handleEvent(eventID, ...)

  local event = myEventHandlers[eventID]

  if (event) then
    event(...)
  end

end

if con then
  print('Connected to the bulb!')
end

while running do
  handleEvent(event.pull())
end
The Lua program binds to two events on execution, key_up and redstone_changed. The first one fires when a key is pressed while the program runs while the latter runs when a redstone event is triggered on the computer. Now that I have my main event loop, I was able to implement the simple logic.

First of all, when the q button is pressed, the program exits. When a redstone event occurs, the program maps the lever’s value to either 0x00 or 0xFF, which maps to on and off for the WiFi lamp. The packet is sent down the pipe and lamp reacts accordingly! Lastly, the TCP connection is opened when the program starts. Simple, clean and it works!