
Almost a decade ago, it should have been 2003 or 2004 when I was about 11-12 years old, I bought a Jester / Harlequin hat for the Greek “Mardi Gras”. The hat has eight red LEDs that flash to patterns, which can be switched by a button. The eight red LEDs are controlled by a PCB with a blob of epoxy resin and are powered by two AA batteries. Fast-forward to 2016 a couple of weeks ago, when I decided to replace the PCB with an my own and the red LEDs with RGB one’s.
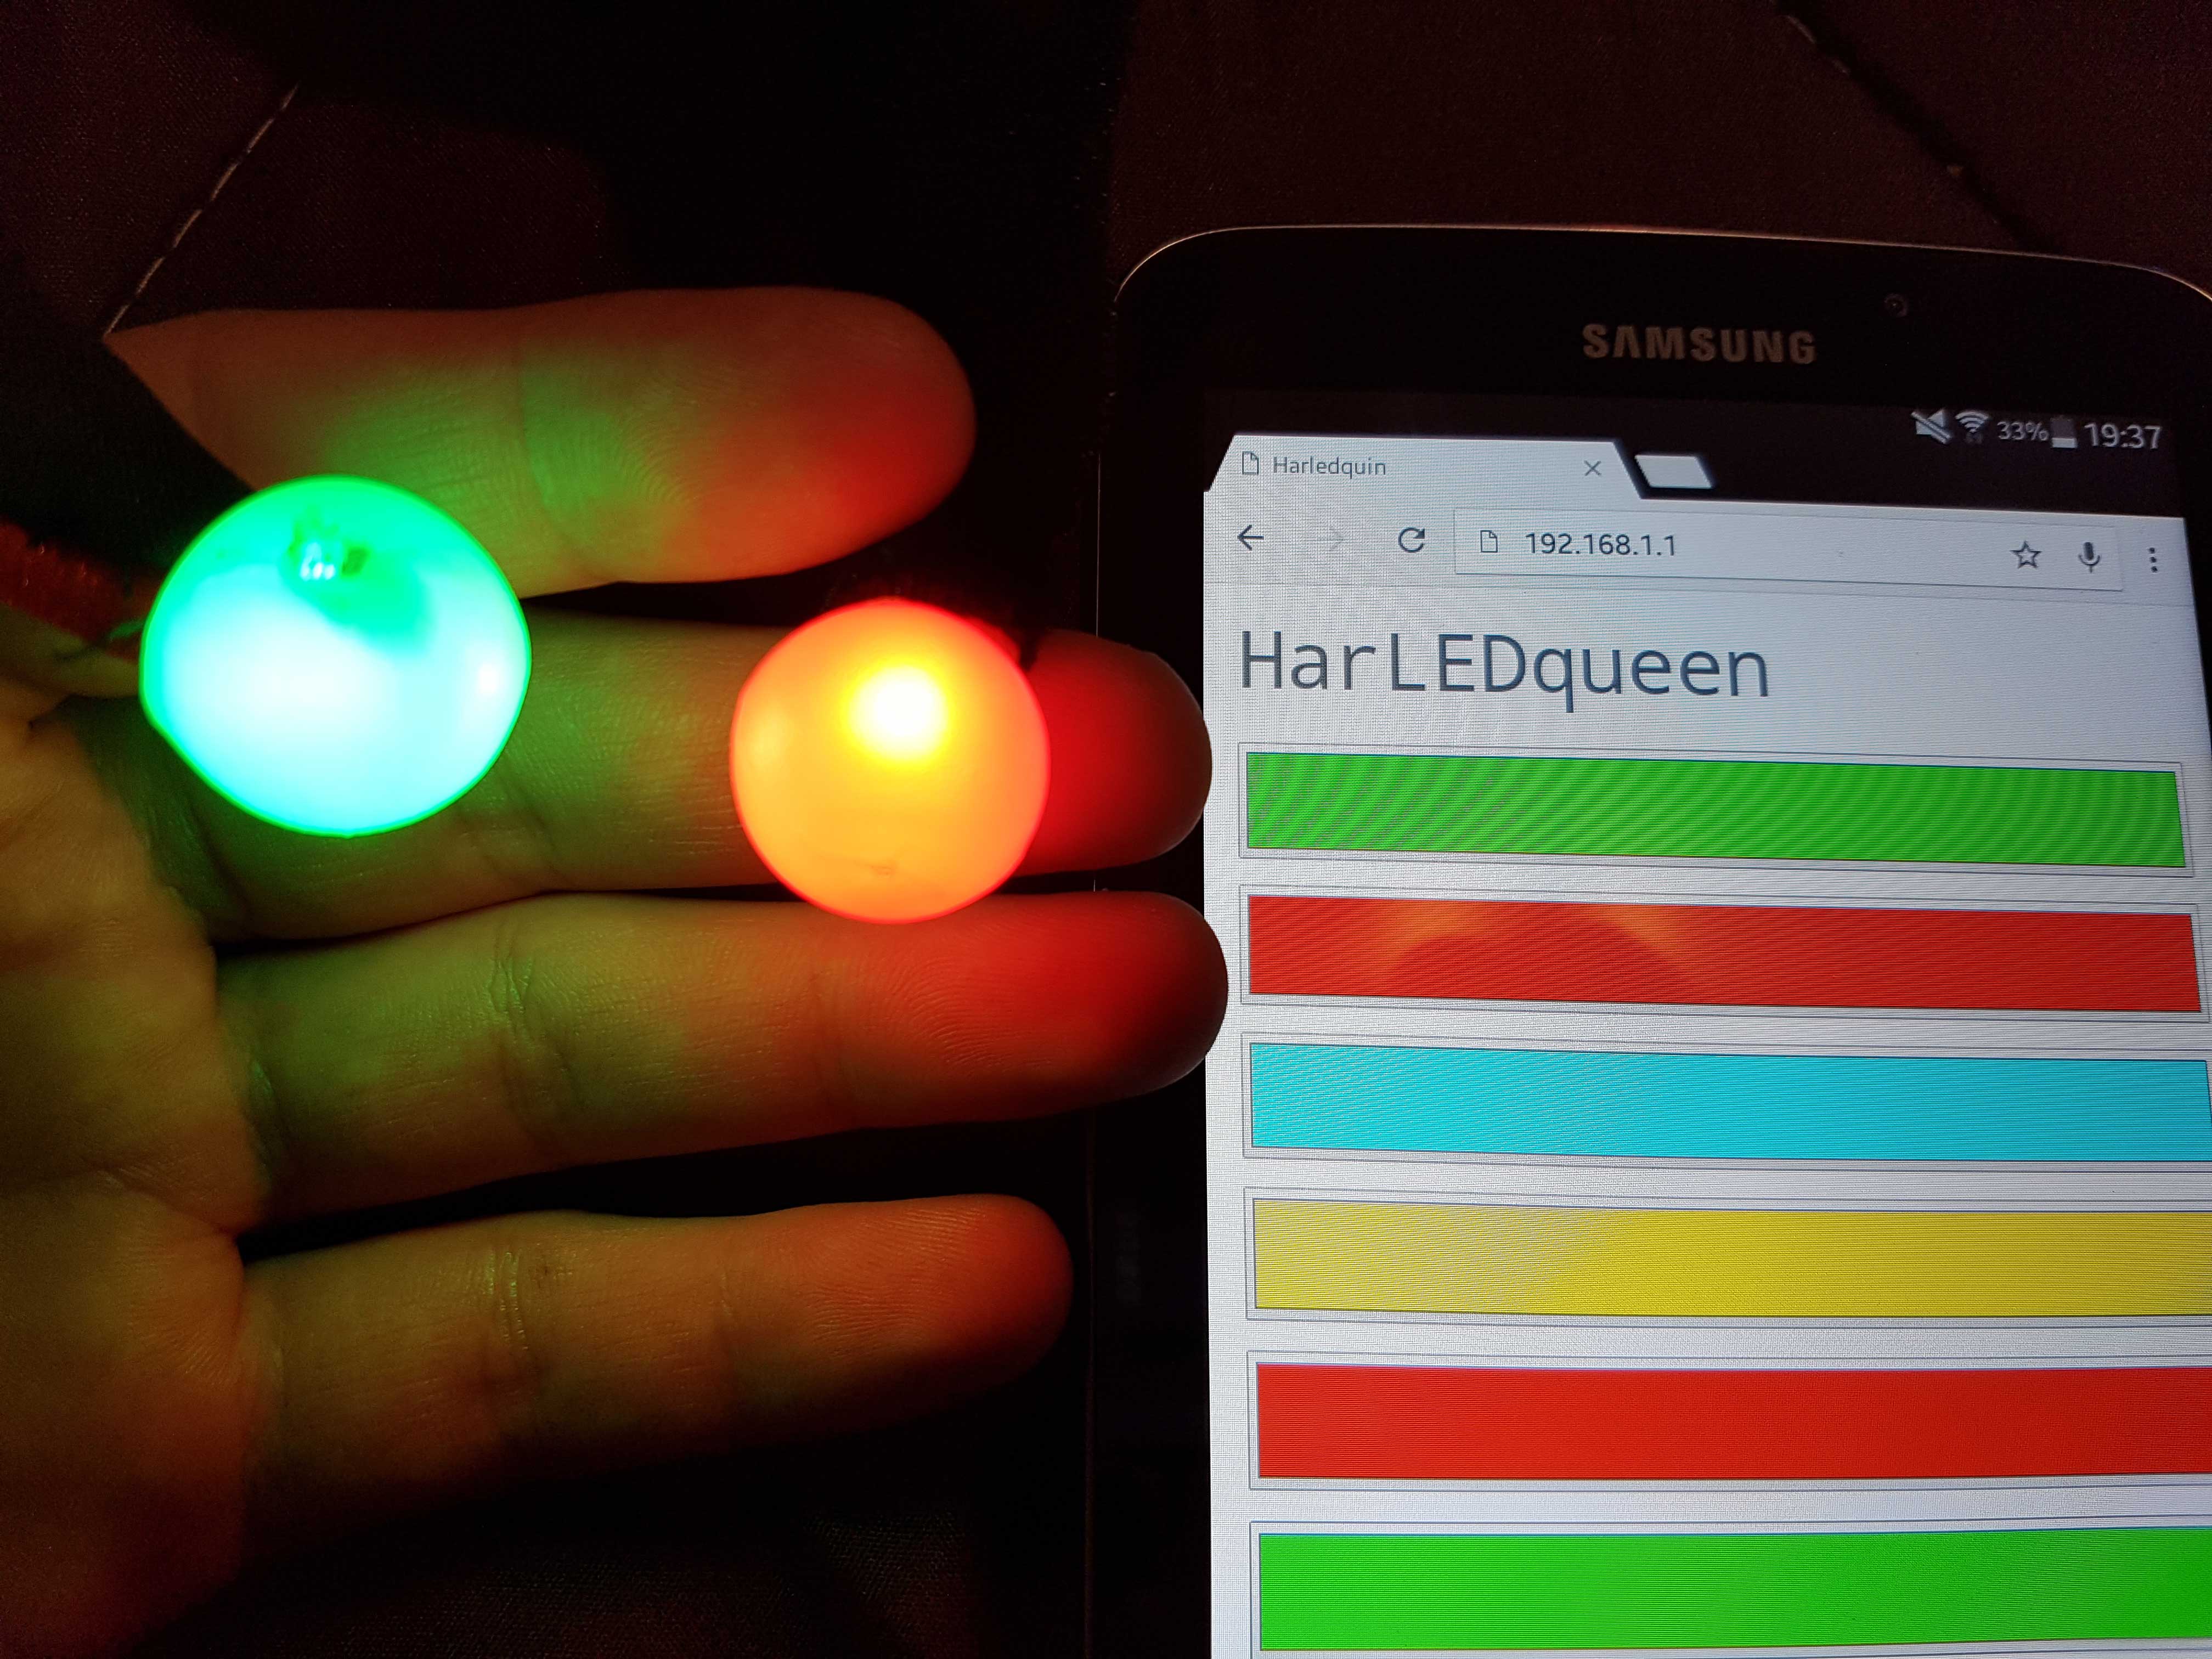
Here’s the idea. You wear and power-on the Jester hat. A secured WiFi network is created which you or other people can join from a smartphone. The hat serves a page where the color of the LEDs can be changed on-the-fly. During a super fast 4 hour prototyping session, I got it working!
ESP8266, WiFi AP, HTTP and WebSockets
First things first, the brains. The ESP8266 is the perfect candidate for this kind of project. If something is battery powered, you can probably fit an ESP8266 in it. The ESP8266 has built-in WiFi, you can program it with the Arduino IDE (meh.), you can use standard Arduino libraries (yay.), and can be easily powered by a LiPo battery. It also costs ~2.50€.
Eight PL9823 RGB LEDs were also used. These are digital LEDs, they only require one pin of the ESP8266 to control them. The color can be set using a simple protocol and they can be chained, the eight LEDs will only use one pin! They use a similar protocol to the Adafruit NeoPixels (which actually are WS2812B LEDs), so it is fairly easy to interface them.
The webpage for the smartphones is served by the ESP8266 through HTTP, everything is stored on the flash chip and uploaded though the Arduino IDE. Of course, the ESP8266 is also responsible for the WiFi access point. Client files are pre-gziped and served compressed in order to increase the load speed and also conserve on flash usage. After the client is loaded on the smartphone, it begins communicating through WebSockets with the ESP8266.
Angular, Websockets and Gulp
During the prototyping phase I used Angular as the base Javascript framework, which I decided to keep for the final version. Initially I decided to use the Bootstrap CSS framework, which I later dropped for Milligram. Client-side logic is simple enough. An array of eight colors is stored and sent to the ESP8266 when a change to the color controls occurs. The ESP8266 unwraps the JSON and updates the LED’s colors.
Client-side libraries and frameworks are downloaded from bower and glued together by gulp. Bower, gulp and it’s libraries are downloaded through NPM. By using gulp, we can easily wrap up the application, compress it and then use the Arduno IDE to upload the files to the ESP8266.
Wiring it up
Each LED uses three pins, two for power and one for data. The first LED’s data input pin is connected to the ESP8266, each next LED’s data in pin is connected to the previous LED’s data output pin, thus creating a chain. All power pins are connected in parallel. The ESP8266 used in the final build is a standalone ESP-12E module with a breakout board and everything is powered by a 3.7v LiPo battery.
Before removing the red LEDs from the hat, I made sure I didn’t break the LED cases. The LEDs were glued inside a transparent plastic sphere and were wrapped with red and white thread. I kept the spheres and glued them back to the hat, fitting inside the new LEDs. The ESP8266 module and battery fit into the hat perfectly and added no noticeable extra weight! Source code for both the ESP8266 and the Angular client can be found on GitHub, here.
ToDo
The LEDs need filtering caps to work without flickering when a lot of color changes happen. I noticed that the two last LEDs seem to “reset” and show weird colors sometimes. I suspect this is due to voltage drops. Although the flicker isn’t noticeable in our case, it will be needed if animation and effects are implemented in the future.
During the prototyping phase, I started implementing effects. A table with columns for each LED and rows for the changes was my plan, but due to my limited time (I had to finish it before the 2016 celebrations) was scrapped and planned for next year.
Last but not least, some proper power management would be also nice. The LEDs need 5V, but they seem to work nice at 3.3V and 3.7V. The ESP8266 also needs 3.3V, but works happily at 3.7V (and 5V which I found out by mistake). That’s all for now :)